
Create vendor
This module allows you to upload your registered list of vendors to the system so you can perform various actions on it.
To perform this action, click on the option “Create Vendor” located in the menu “Actions”.
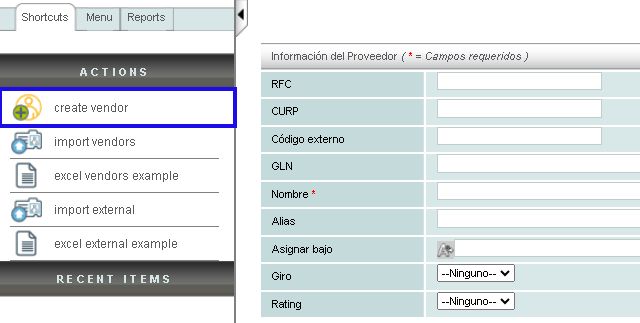
Vendor registration is very similar to customer registration, requiring specific vendor information. It's worth noting that when you upload and validate a receipt from an unregistered vendor, it is automatically saved in the system.
Vendor Options
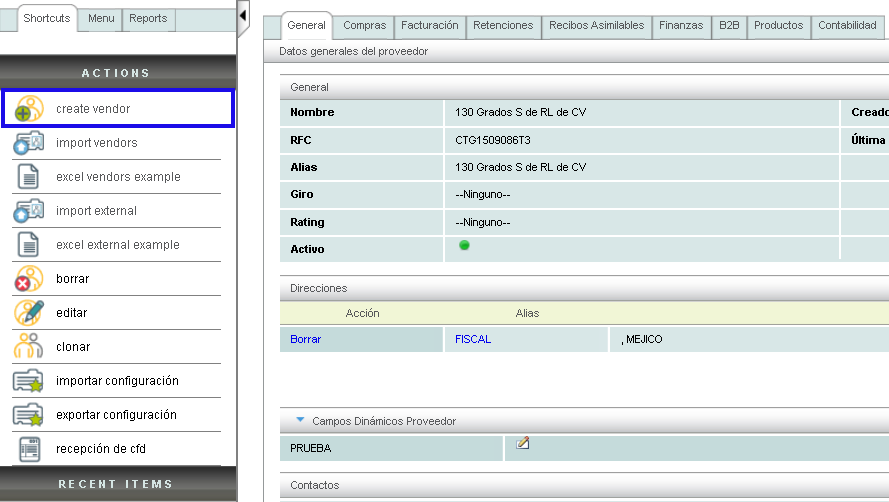
Once your vendor is registered, you can perform several activities within the menu “Actions” such as editing, deleting, or cloning said vendor. You can also find some actions to perform within the main panel. Below, we'll explain how to use each of them.
Vendor Options “Billing”
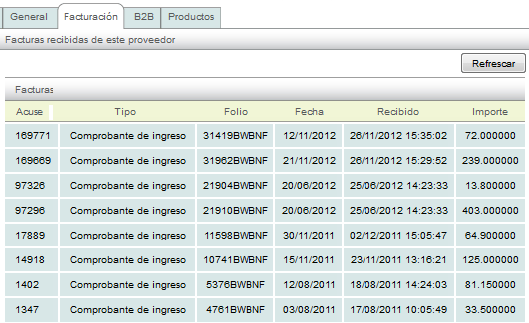
In the tab "Facturación" you will find a list of all the receipts previously uploaded from the vendor in question.
Configuration for receiving e-documents
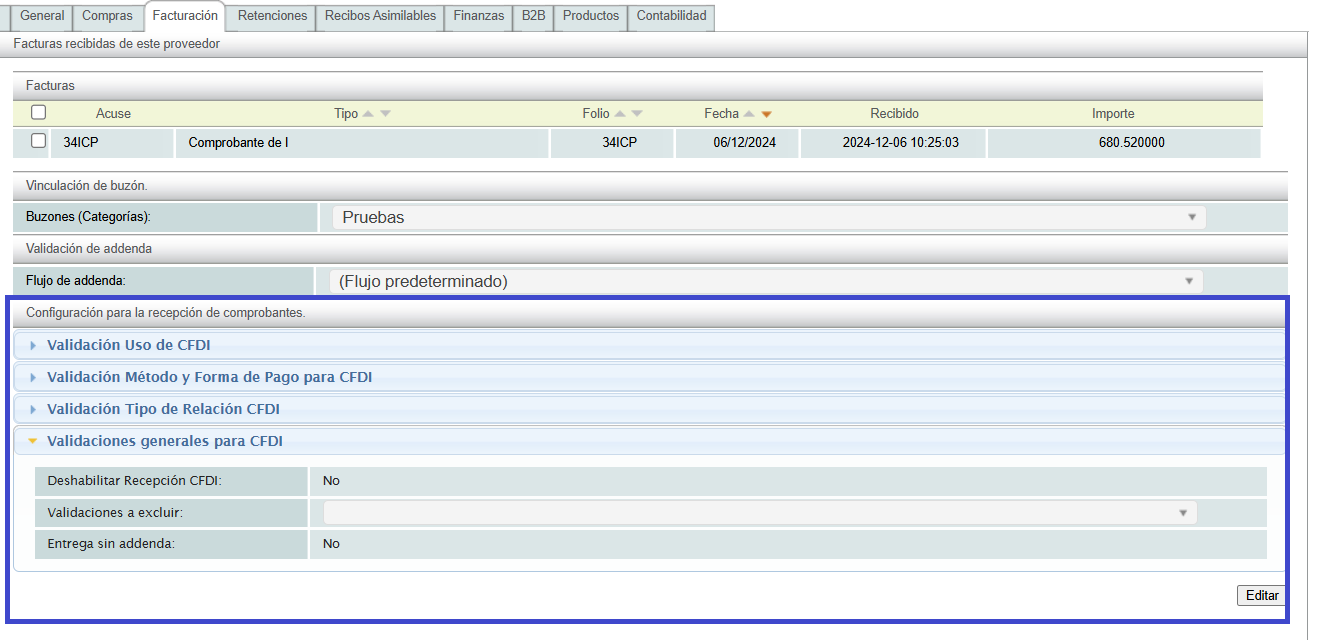
This option allows you to configure the parameters to validate the receipts received from your vendors, as well as the exclusion of validations that are established in the SAT error matrix.
To activate the receipt reception settings, go to the section.
Validate use of CFDI
To validate the default UsoCFDI that the XML receipts received must contain with respect to the type of receipt, it is necessary to display the option "Validación Uso de CFDI".
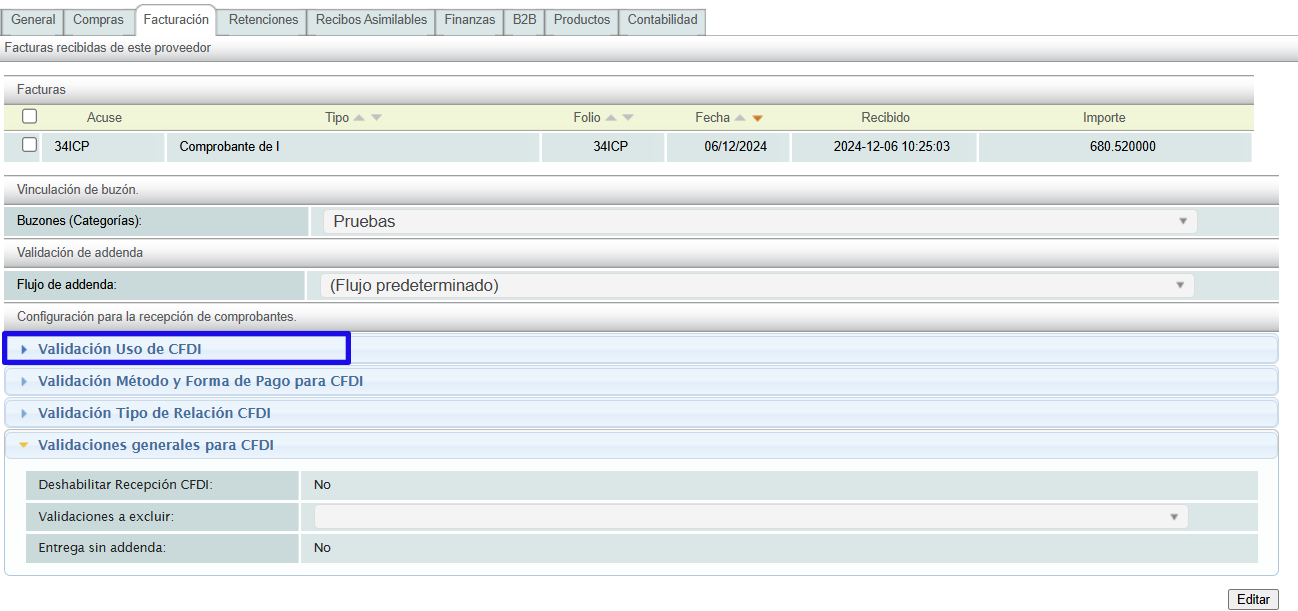
If the options are not specified, the system will validate all the fields indicated, so it is suggested to define the fields to be validated.

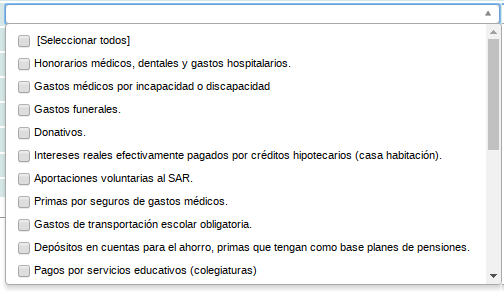
Validate use of CFDI: Options
By clicking on the options for each CFDI Use, it will show you the list of Uses that you can select for each type of receipt.
Disable CFDI Reception
This option allows you to send an email containing rejected receipts using a customized template. To enable the template, you must contact the sales department.

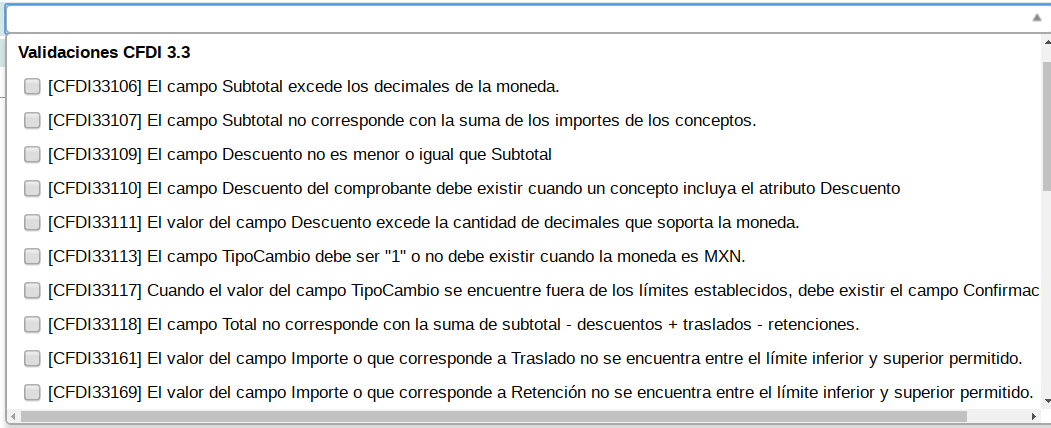
Validations to exclude
This option allows you to exclude some validations from the SAT error matrix, it is necessary to be sure to activate them, since the system will allow receipts that do not meet the validations to be registered in the system.

Remember that activating or deactivating these options is the user's responsibility and exempts Solucion Factible from all liability.
Validations to exclude: Options
Vendor Options “B2B”(Business to Business)
This system option is very helpful when you receive a large number of receipts. With B2B, you can assign a username and password to the vendor so they can upload the receipts.
This way, you can create a username and password, which the vendor will use to log into the Solución Factible® system where they will upload the receipts.
It's worth mentioning that the vendor will only have permission to upload receipts and will not be able to view or access any system options. Rest assured, your information is 100% protected.
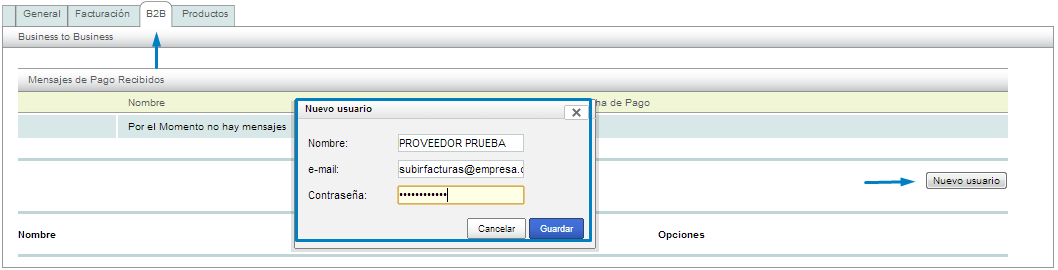
Note: it is important that the user you assign is a real email account. We suggest that this email be provided by your vendor and that you only assign the password.
External user access link
With the username and password registered in the billing system, your vendor will log in at the following address https://solucionfactible.com/crm/loginExterno.jsp
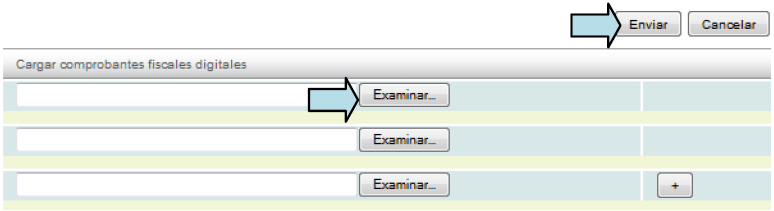
Once logged in, your vendor will be able to upload the receipts. To do this, click on the “Enviar CFD” option located in the menu "Actions".
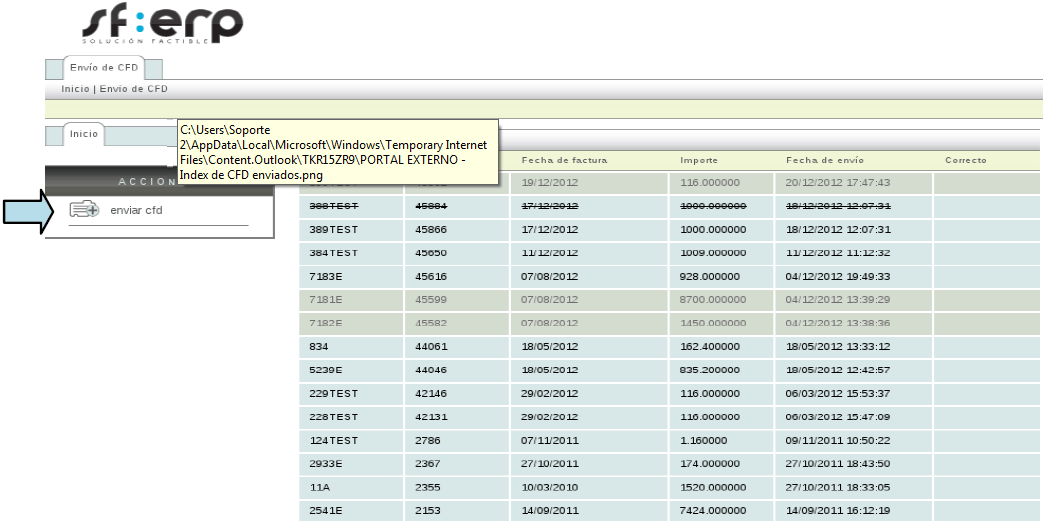
Basically, you will follow the same process that you follow to upload the receipts.
The receipts that your vendor uploads to the system, as long as they have been valid, can be viewed in the tab “Recepción CFD”.
