Tags: Invoicing, 4.0, proof of payment, reception
Lesson ID-103.28
Updated to:
26/11/2025
Lesson objective
That the user knows how to create a payment e-document for version 4.0.
Create a payment receipt
To perform this action, you must first log into the system as indicated in lesson ID-101.1
Step 1
Go to the "Payments" module located at the top of your system.
![]()
Step 2
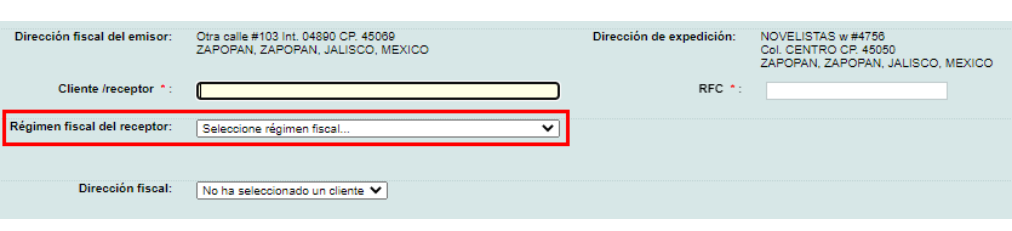
Then, by clicking on the left side on "Crear pago manual" in the only option "Comprobante" within the payment form, the required data of the recipient will be displayed.
Note: by entering the customer's name, the system automatically fills in the rest of the information; otherwise, you can create a customer in lesson ID-104.1 and you can also edit your customer's settings in lesson ID-104.5.
Step 3
The following required information, which you must fill in, is displayed in the "Datos Generales de Pago" section:
- Fecha de pago. Date on which payment is received for the e-document(s).
- Monto. Total amount of payment received.
- Moneda de pago. Currency in which payment is received.
- Forma de pago. Payment method. For electronic or card payments, the system will display information such as the Payer's Account Number, Beneficiary, and the corresponding banks; these fields are optional.

Step 4
Next, in the "Documentos Relacionados" section, you must indicate at least one of the fields in blue and then click the Buscar button so that the system displays the information of the income document to which the payment will be applied.

Note: the information will only be displayed if the document is generated as a PPD payment method.
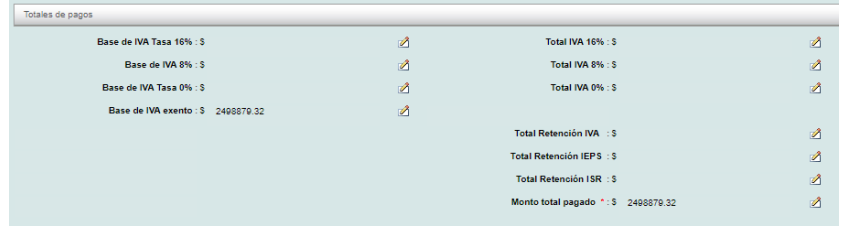
Solución Factible will automatically calculate the taxes from the e-document, or they can be configured manually by clicking on the edit icon.
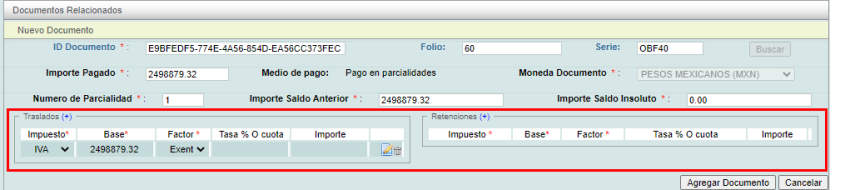
Note: Solución Factible will verify that the manual calculations are correct, ensuring the e-document is filled out properly.
Once the information is entered, click "Agregar Documento" and the corresponding calculations will be applied.
Finally, click the "Guardar" button.
Note: If you have any further questions regarding the procedure, you can contact our Technical Support department.
