Tags: Customers, import, Excel, catalog
Lesson ID-104.3
Updated to:
28/11/2025
Lesson objective
The user can access the customer registry within the system by importing an existing customer catalog from Excel.
To perform this action, you must first log into the system as indicated in lesson ID-101.1.
Import customers into Excel
To begin issuing receipts, it is essential to first register the recipients (customers).
We have a pre-designed template that will help you import more quickly. Download the template, enter the requested information, and complete the import.
Go to the "Customers" module to download the template.
Once inside the module, go to the "Actions" menu and click on the "excel customers example" option.

You can also download the "excel customers example" template Here.
The system will download the template to your computer; enter your customer information.
The required data are: C, NOMBRE, PAIS, ALIAS, CALLE and CP., the other data requested is for informational purposes and only helps you maintain more information about your client, however they are not printed on your e-document.

Note:Verify the customer's RFC (Taxpayer Identification Number) information. Our system validates that this information complies with official standards. For more information, see the RFC structure.
Once you have the template ready, go to the "Actions" menu and click on the "Import customers" option.

Next, follow these steps:
- Step 1: Select the Excel template with your customer data and click the "Siguiente" button.
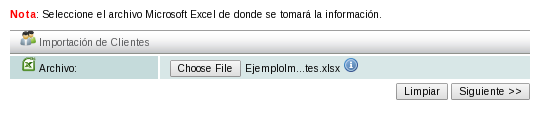
-
Step 2: Select the sheet containing the customer data. If you are using our template, select the "Customers" tab and then click the "Siguiente" button.

-
Step 3. Select the columns containing customer data according to the specified field. If you are using our template, the columns will be selected automatically; click the "Siguiente" button.
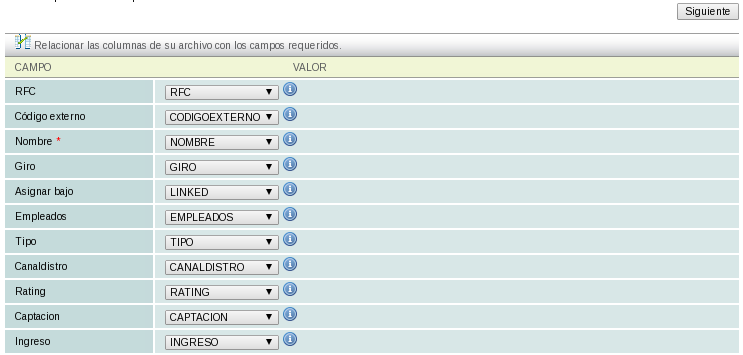
-
Step 4: The system will then display a window with the number of records to be processed; click on the "Finalizar" button.
-
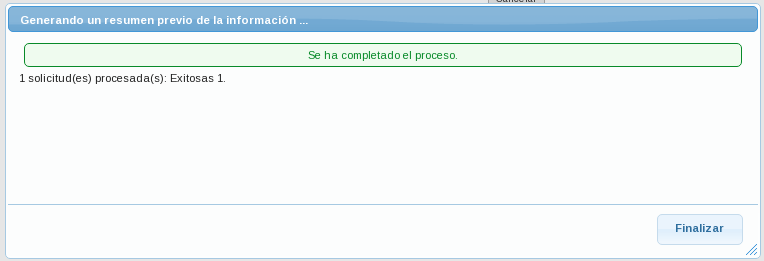
Step 5: A summary of the number of clients and actions to be performed will be displayed; click on the "Finalizar" button to complete the process.

-
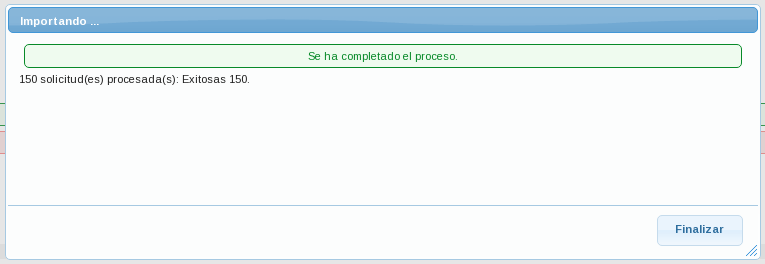
Step 6: The system will import the clients; when finished, it will show you the summary again with the number of clients imported. At the end, click on the "Finalizar" button.
See also lesson ID-104.1 for manually creating clients.
