Tags: CFD Reception, Configuration, Vendor, Invoice, Validation
Lesson ID-702.1
Updated to:
23/03/2026
This guide is intended for NetSuite administrator users, so it strictly requires Administrator permissions.
Lesson objective
That the user knows how to install and configure the Vendor And Invoice Validation implementation.
Installation prerequisites
To make use of the various tools provided by the SuiteApp Vendor and Invoice Validation, the NetSuite implementation must meet the following requirements.
Important: the tools provided by SuiteApp Vendor And Invoice Validation can be installed and used even if the user has a NetSuite OneWorld account or has the SuiteTax feature.
SuiteApp required:
- Electronic Invoicing.- Mexico Localization.
It is recommended to consult the installation and configuration guide on Mexico Localization, as well as the additional configuration guide for Mexico of the SuiteApp Electronic Invoicing Mexico.
Vendor And Invoice Validation Errors
Install Vendor And Invoice Validation
To install the Vendor And Invoice Validation SuiteApp
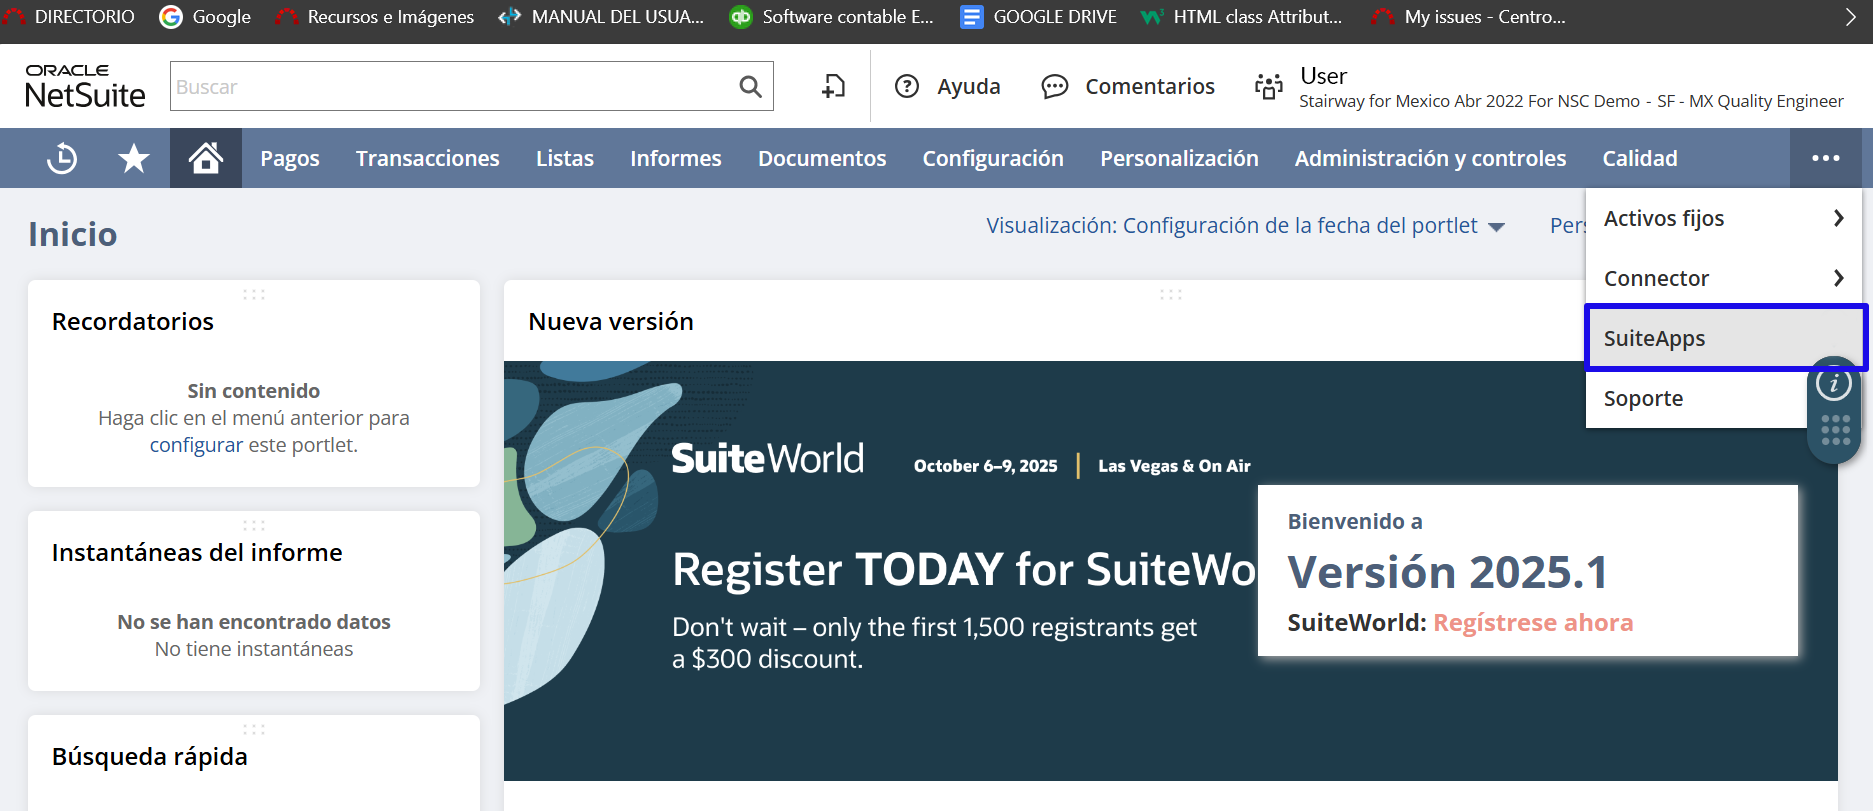
1.- Log in to the NetSuite platform. Locate the menu bar and click on the three dots, then select the SuiteApps option.
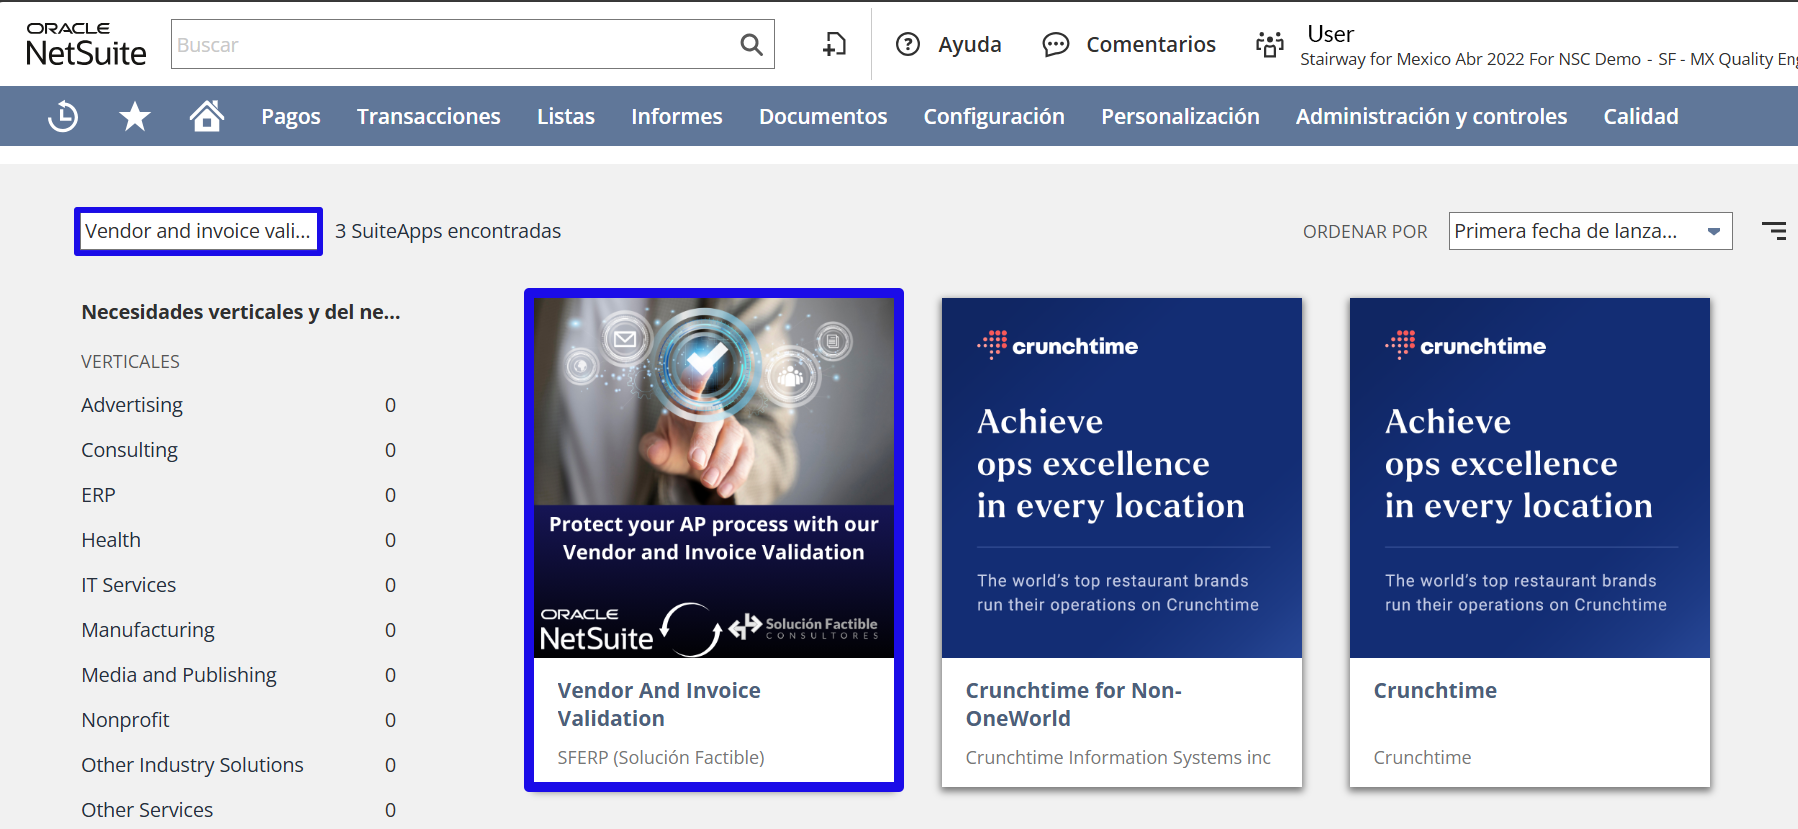
2. In the Search App field, type Vendor And Invoice Validation. Select the image and click.
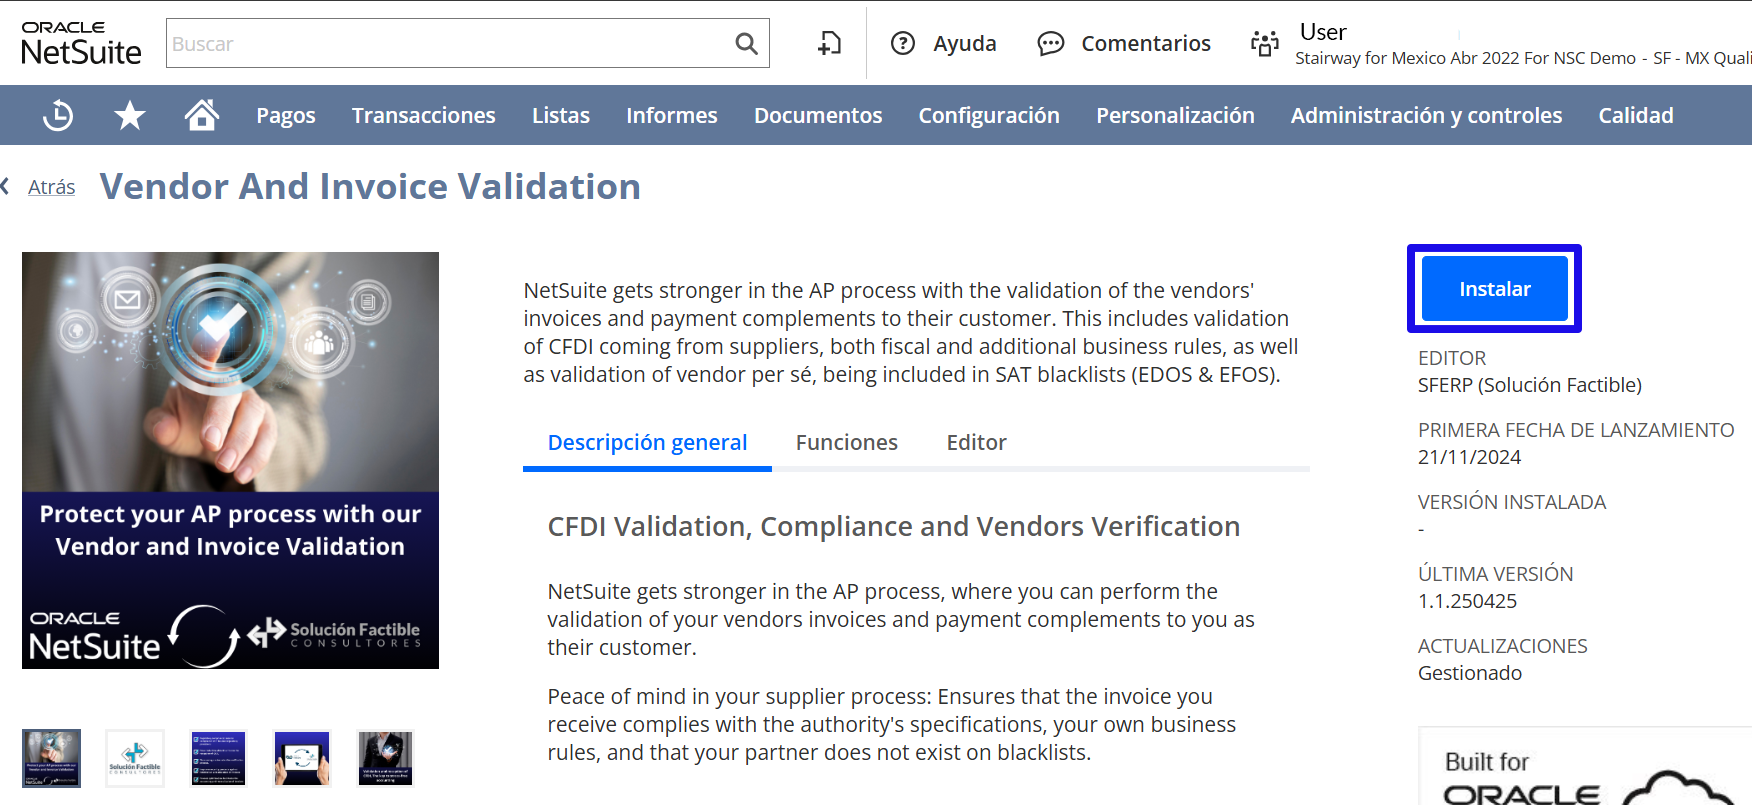
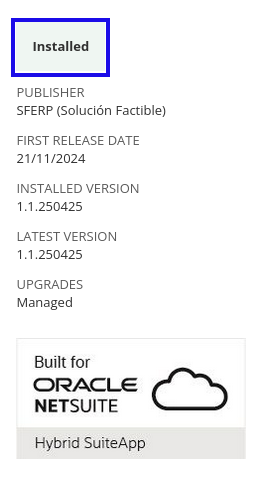
3.- Locate the upper right part of the details screen, above the SuiteApp, and click on "Instalar".
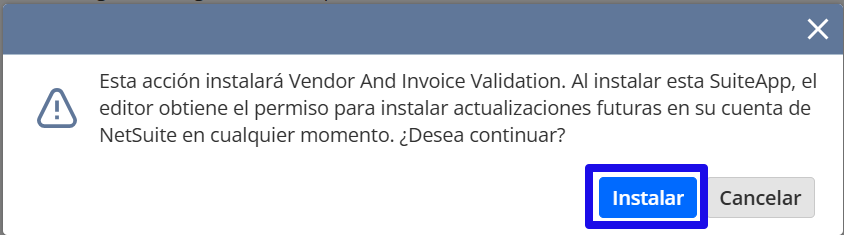
A dialog box will appear; click on "Instalar".
4.- During the installation, a box will appear indicating the progress.
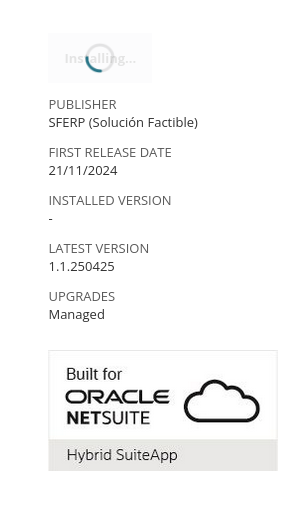
Wait for the installation to finish.
- If you require further information about the installation status, you can consult the following link Installing from the SuiteApp Marketplace
Vendor And Invoice Validation Configuration
Acceso a los Scripts y Plug-ins de la SuiteApp Vendor And Invoice Validation
You need to have the Administrator role to grant access to the Vendor And Invoice Validation script deployments.
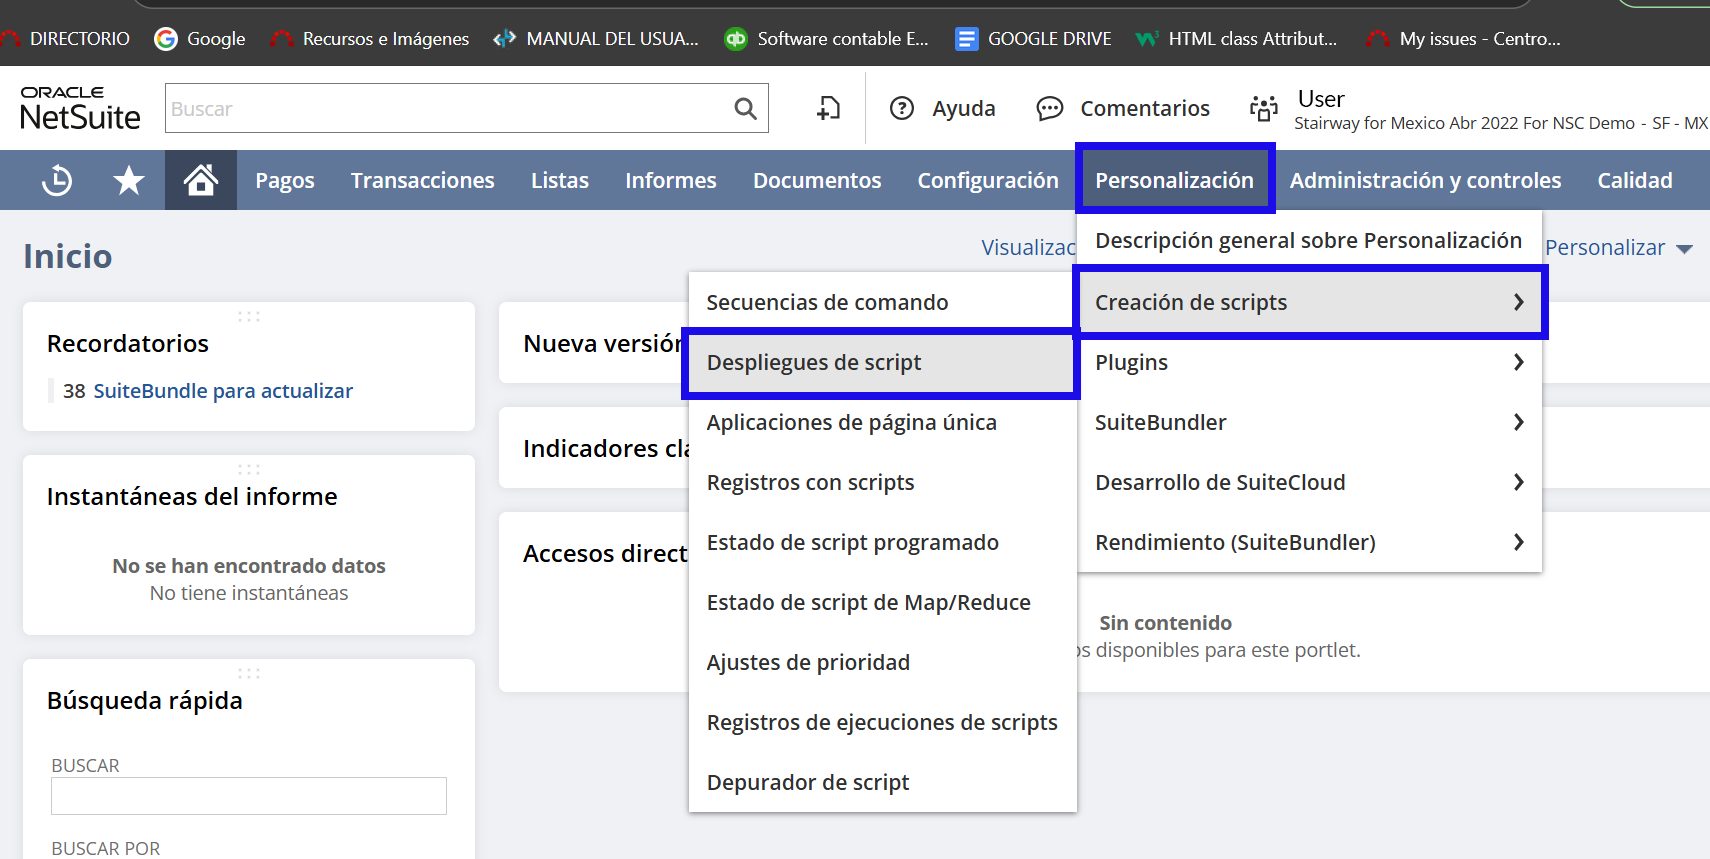
To grant access to the SuiteApp Vendor And Invoice Validation script deployments
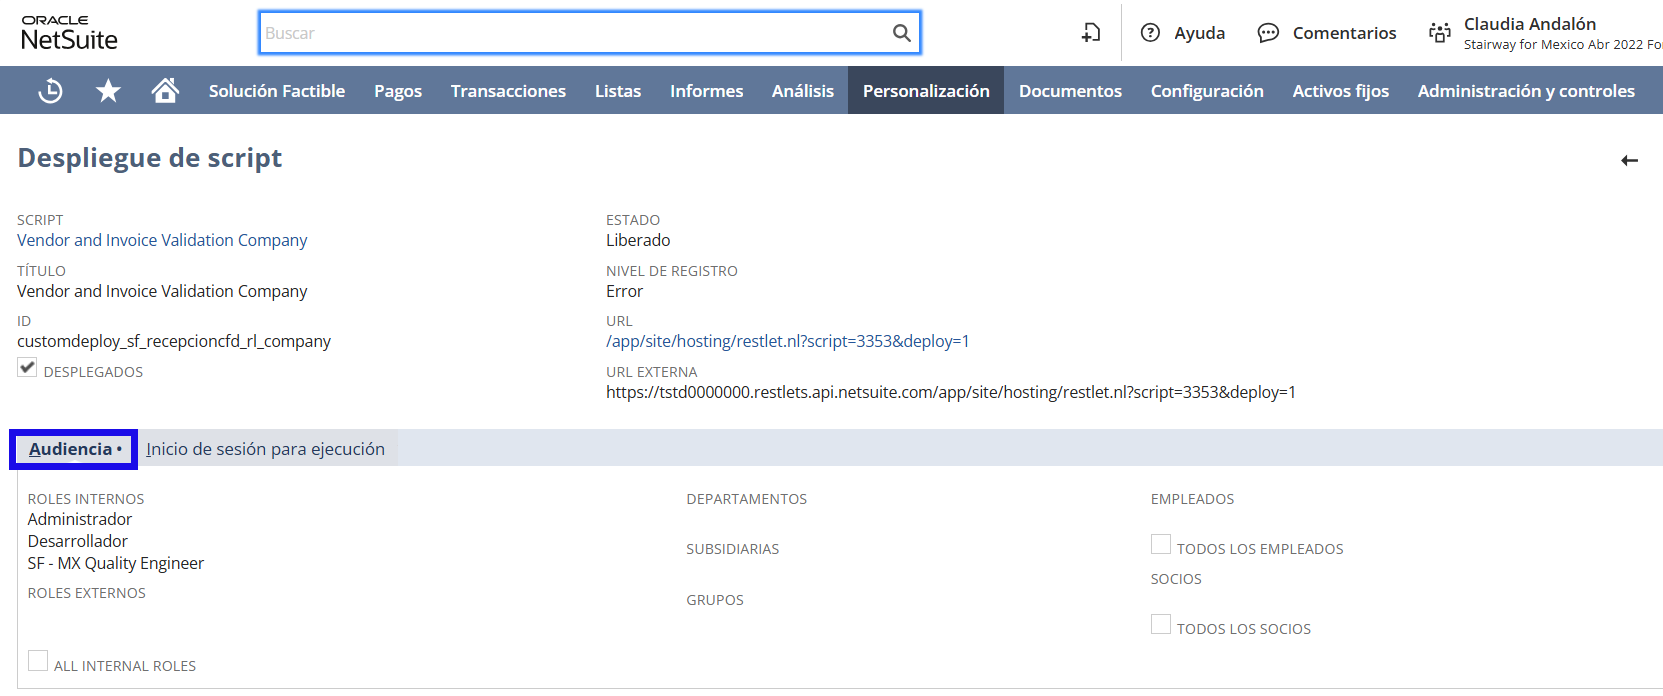
1.- Go to the Personalización menu and select Creación de scripts and in that menu, choose Despliegues de script.
2. Select an ID from those shown in the table and click on the email address.
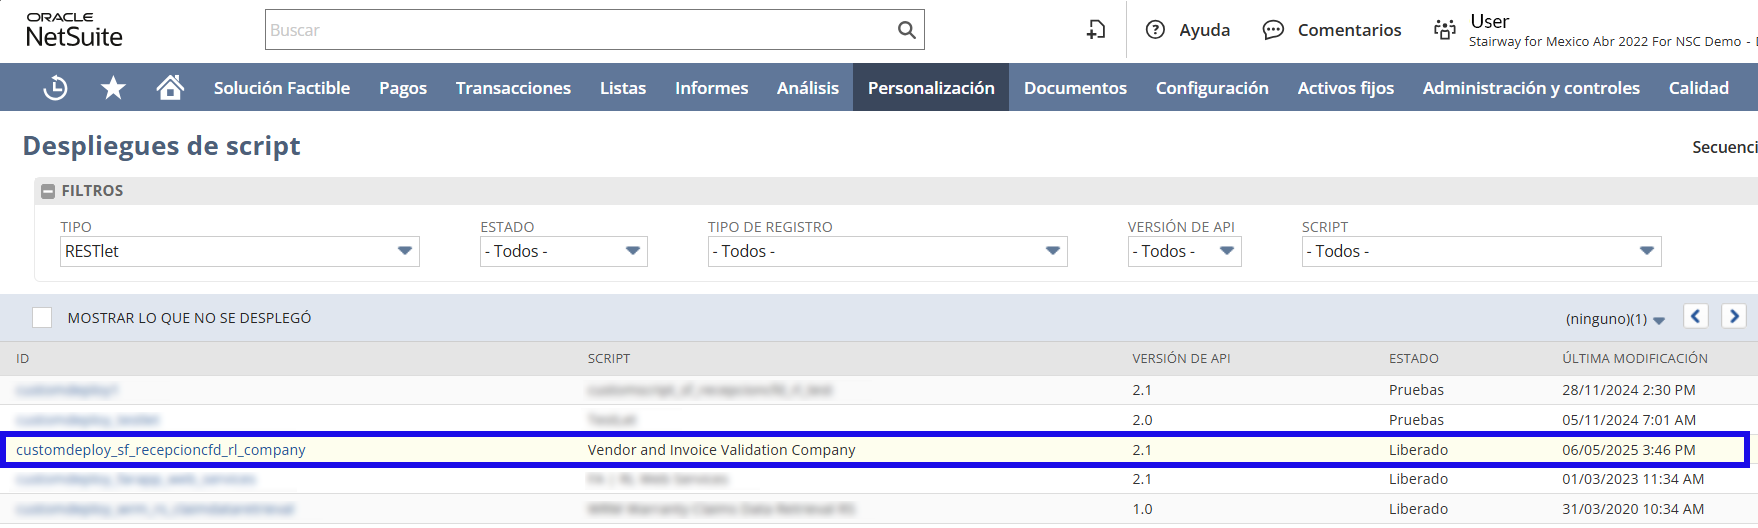
3.- In the Audiencia del Despliegue de script, select the roles that require access.
Assignment of required permissions
To assign permissions to roles, perform the following steps:
1.- Navigate to the Setup option, then select Users/Roles, and finally click on Manage Roles.
2.- In the Editar section, choose the desired role and add the following permissions by category:
- Setup:
- Log in using OAuth 2.0 Access Tokens (FULL).
- And in the Lists section:
- Subsidiary Tax Registrations Tab (View) Only for accounts with SuiteTax Enabled.
- Documents and Files (View) It is not required as long as the scripts are configured as specified above.
Vendor and Invoice Validation Portlet Configuration
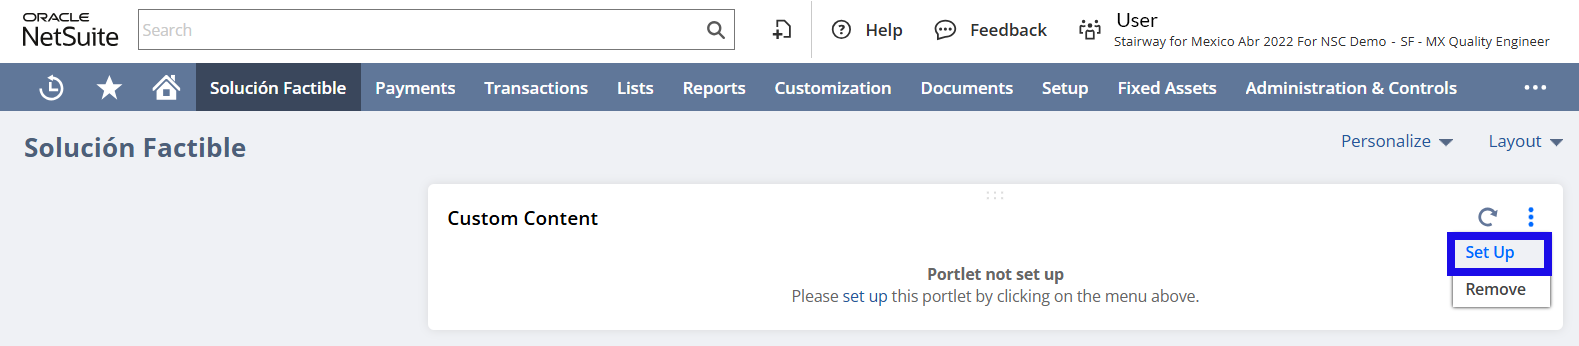
1.- To configure the Vendor And Invoice Validation portlet, you need to:
- Access the menu at the top and select "Solución Factible".
- Locate the three dots and configure the custom portlet and click on "Setup".
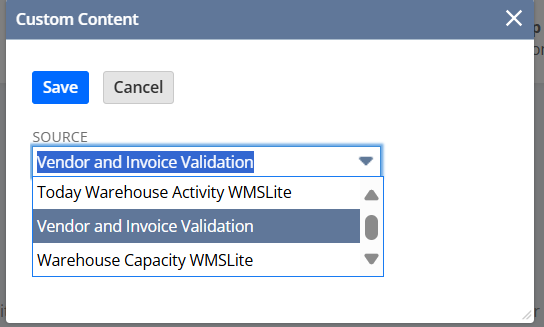
- Select "Vendor And Invoice Validation" from the drop-down menu and save the changes.
2.- To access and authorize access to the Vendor And Invoice Validation application from the pop-up window.
- Once the application access is completed for the first time, it will be available in the "Vendor And Invoice Validation Integration" account.
Generate Integration Record
To complete the e-document reception configuration, it will be necessary to generate an Integration record in the NetSuite implementation.
1.- Locate the Setup option in the menu, select Integration, then Manage Integrations and the New option.
2.- Name:descriptive name to identify the connection with SF:ERP.
3.- Token-based Authentication: tick the box.
4.- Finally, to save, click on "Save".
Access Token Generation
To receive NetSuite receipts, it is necessary to generate an access token and associate it with the generated "Integration Record": 1.- To generate an access token and designate a NetSuite user.
- Locate Setup and from there, Users/Roles, choose Access Tokens and finally New.
- Aplication Name: from the list, select the "Integration Record" option, whichwas previously generated in the "Generar Integration Record" step.
- User: designates the user who will receive the e-documents.
- Role: Select the role associated with the user (which must also contain the permissions from the "Permisos Adicionales" section).
- Token Name: Nombre del token (any descriptive name for your account).
Then, click on "Save".
Important: when saving the changes, two access keys (TOKEN ID & TOKEN SECRET) are generated. It is important to take note of them and store them securely (they will be needed for configuration) as they will only be visible once.
Vendor and Invoice Validation Error Table
| Error Type | Error details | Solution |
|---|---|---|
SF:ERP Support |
Configuration not found. [NetSuite integration has not been configured]. | Contact the Solución Factible support service. |
| The account does not match the established settings. | The NetSuite account you wish to use does not have access to the system. For more information, you can contact the Solución Factible support service. |
